A beginner's guide to your first city
You start with 2,500 drachmas, a landing flag on the shore and an empty stretch of coast. This is the opening that works, and the three mistakes that end most first cities.
The first five minutes
Lay road from the landing flag inland. Settlers walk in along it, carts and vendors travel only on it, and nothing in your city works without it. Drag to lay a line rather than clicking tile by tile.
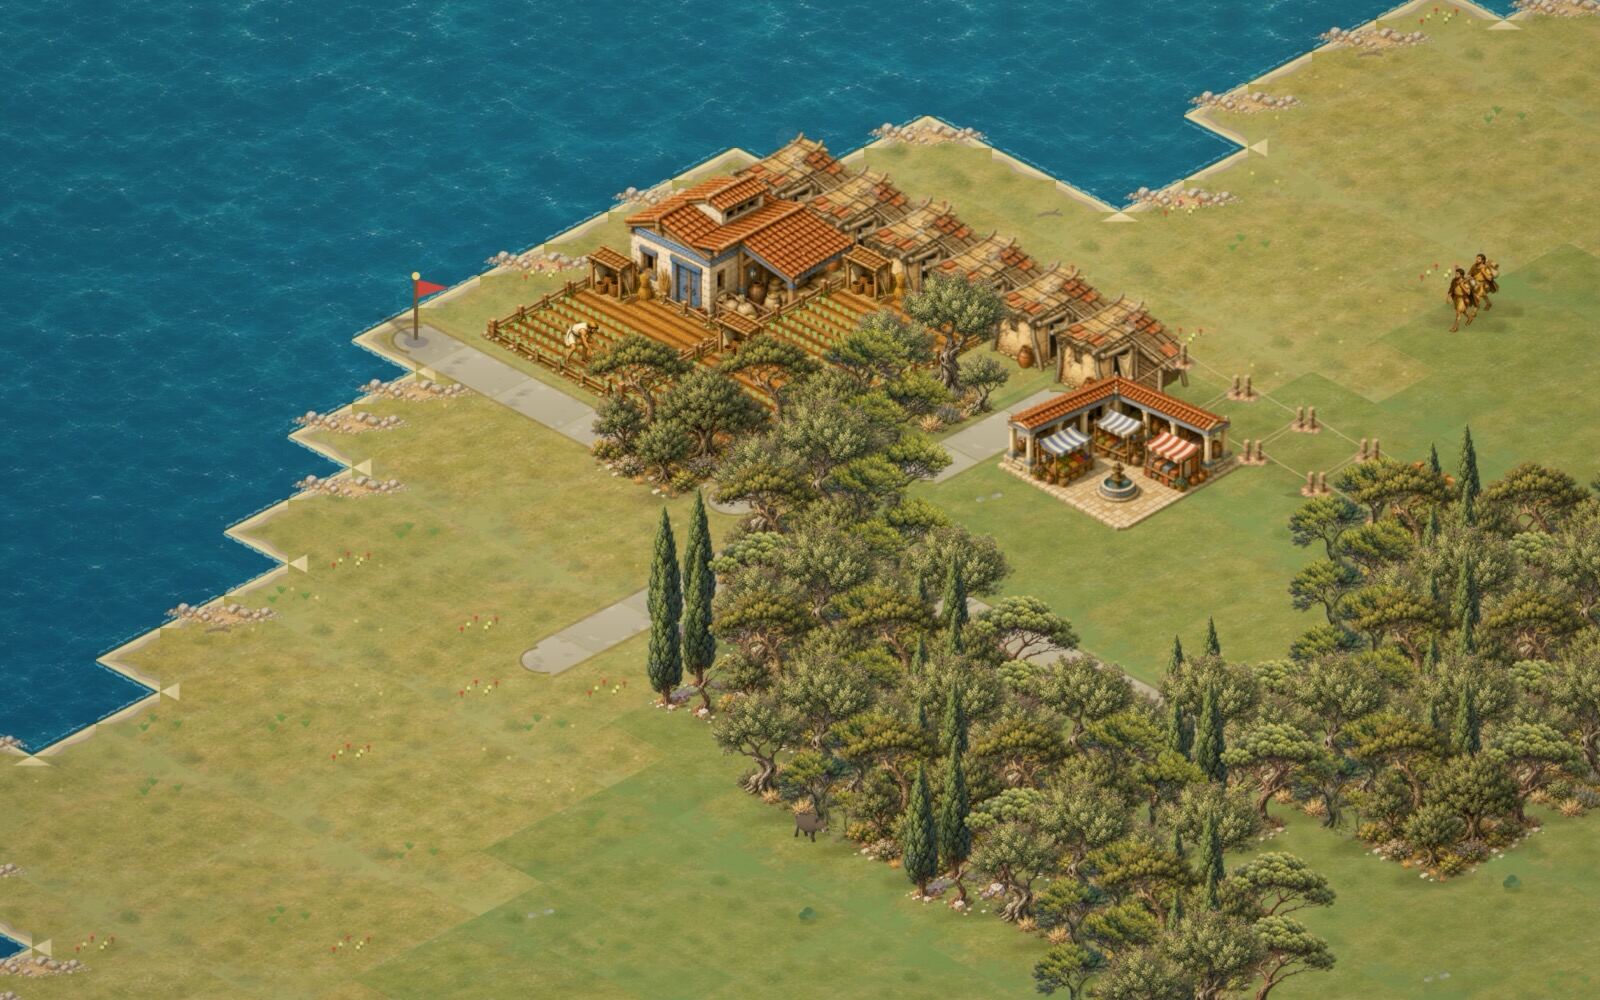
Put four or five houses along that road. They sit empty at first, then settlers arrive and fill them. A house holds 8 people as a hut, and it will climb to 60 as an estate if you feed and supply it, so you need fewer lots than you might think, but keep adding a few: about half your citizens take jobs, and every building on this list needs workers.
Now a timber yard. It no longer has to hug the trees: its lumberjack walks over open ground to the nearest reachable forest, works there and hauls the wood home. Wood goes into most of what you build after this point. The yard costs 55 drachmas and no wood, deliberately, so a city that runs short of timber can always build its way out.
Then a wheat farm on the golden meadow. Meadow is the only ground that takes crops, and the farm grows faster the more meadow sits inside its footprint, so place it on the fattest patch you can find rather than on the edge of one. If your entry is coastal, a fishing wharf is the alternative: it straddles the shoreline, part on land and part over the water, and it works all year round.
Put a granary near the farms and connect it by road. Farm carts deliver there.
The building that decides whether your city lives
Build an agora.
Food in a granary does nothing. It sits there. The agora is what turns stored food into fed citizens: its vendors collect food and walk it out along the roads to houses, and a house only eats what a vendor has delivered to its pantry.
This is the single thing new players get wrong, and it produces the strangest-looking failure in the game: 1,200 food in the granaries, and citizens starving. If you see hunger bubbles over houses while your food stores are healthy, you do not have a food problem. You have a distribution problem, and the answer is another agora nearer to those houses.
The rough number to hold onto: one agora serves about 380 citizens. Not 380 citizens anywhere on the map, but 380 citizens its vendors can reach and get back from. A district on the far side of the city needs its own agora and its own granary, however much food you have banked elsewhere. That figure is measured rather than guessed, and how we arrived at it is a story in itself.
The hunger warning sign
A house that no vendor reaches cannot fend for itself. There are no runners and no foraging: the agora is the only way food gets into a home. Its pantry empties, and after twelve days without food any house above a hut starts to decline; about three weeks later it drops a rank, losing capacity and the taxes it paid. Huts never starve, which is why a failing district sinks to huts rather than emptying.
The city also tells you, once enough of it is hungry. If the granaries are stocked you will read "Homes are starving far from the market; build another agora nearer to them." If they are lean, "Word of hunger spreads; settlers will not come while your homes starve." Either way new settlers stop arriving until it is fixed, so treat both as an instruction to build.
How houses climb
Five levels. What each house needs before it can climb to the next:
- Hut (holds 8): well water and food in the pantry. Huts never starve, which makes them the floor a failing district sinks to.
- Cottage (16): the same water and food, kept steady. Starve it for a month and it falls back to a hut.
- Homestead (28): olive oil from the agora, a shrine or temple within reach, and a handsome enough street around it (statues, gardens and parks close by make a street handsome).
- Villa (44): fleece from the agora, a theatre within reach, and a splendid street.
- Estate (60): the top rung for an ordinary home. Wine is not a household good: it goes to the Great Houses of the first families, which are a separate, grander kind of home.
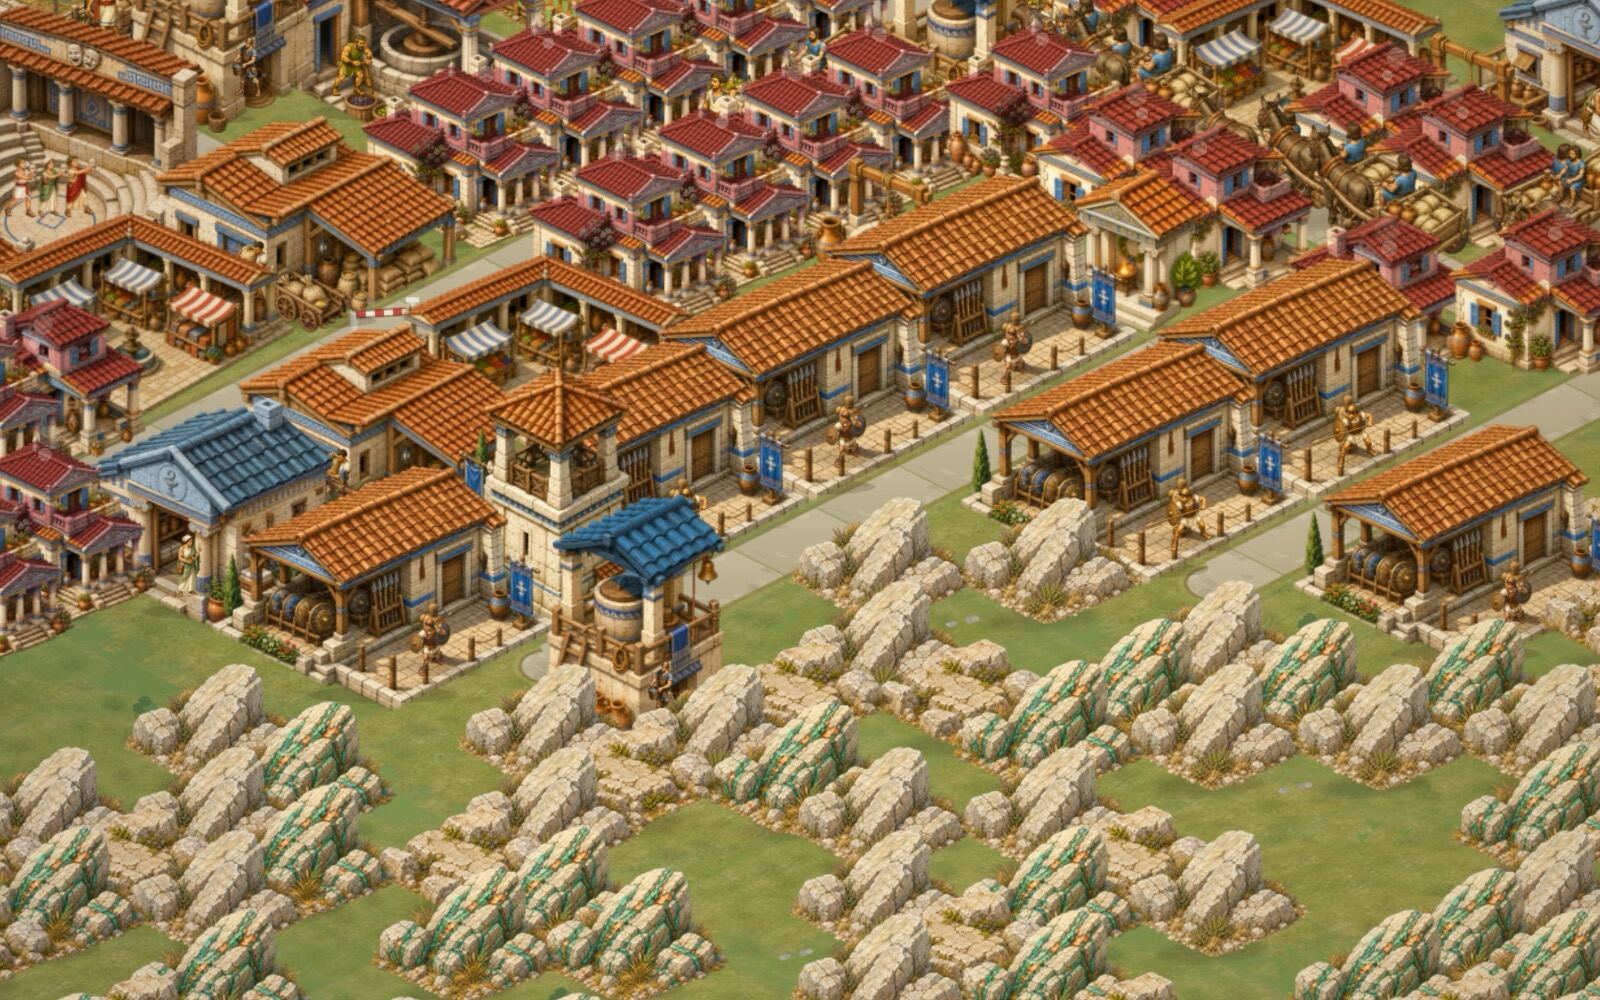
Beauty is the part people miss. Parks, flower gardens, fish ponds, columns and statues make the streets around them handsome, and temples, an Arena or a Hero Shrine do it more strongly still; a Gymnasion does it about as well as a statue. Shrines and theatres serve the houses but add no beauty of their own, so a villa district needs decoration as well as goods.
Taxes come only from homes within reach of a staffed Tax Office, and they scale with both population and house level, so the same patch of ground pays several times more once it has climbed. A climbed house pays far more than a new one, though the workshops still need the people new houses bring.
The oil chain is olive grove on meadow, then a storehouse, then an olive press: olives and oil both pass through the storehouse, and the press never pulls straight from a full grove. The fleece chain is a Shepherd's Hut and seven or eight sheep bought onto the meadow (the hut bales a batch once forty fleeces are in, and eight sheep shear exactly that): the shepherd shears them where they graze, and the wool is baled for the same storehouse, where the agora's vendors collect oil and fleece alike. The theatre needs marble, which means a quarry on rock. That is your mid-game: a handful of buildings, a shrine and some decoration take you from cottages to villas, and villas are where the money starts. Grapes still pay, because wine sells well abroad and the Great Houses drink it, but no ordinary home asks for it.
Mistake one: cash crops too early
Olives and grapes are worth good money. They are also worthless if your city starves while growing them.
Workers are assigned by priority, and food comes before cash crops on purpose. But the workforce is finite, and every olive grove you build is 10 jobs that could have been staffing something else. Build the food base first and let it get comfortably ahead of your population before you plant a single olive.
You will know the food base is ready when the City Ledger shows produced-per-day well clear of needed-per-day and your granaries are climbing rather than flat.
Mistake two: forgetting summer
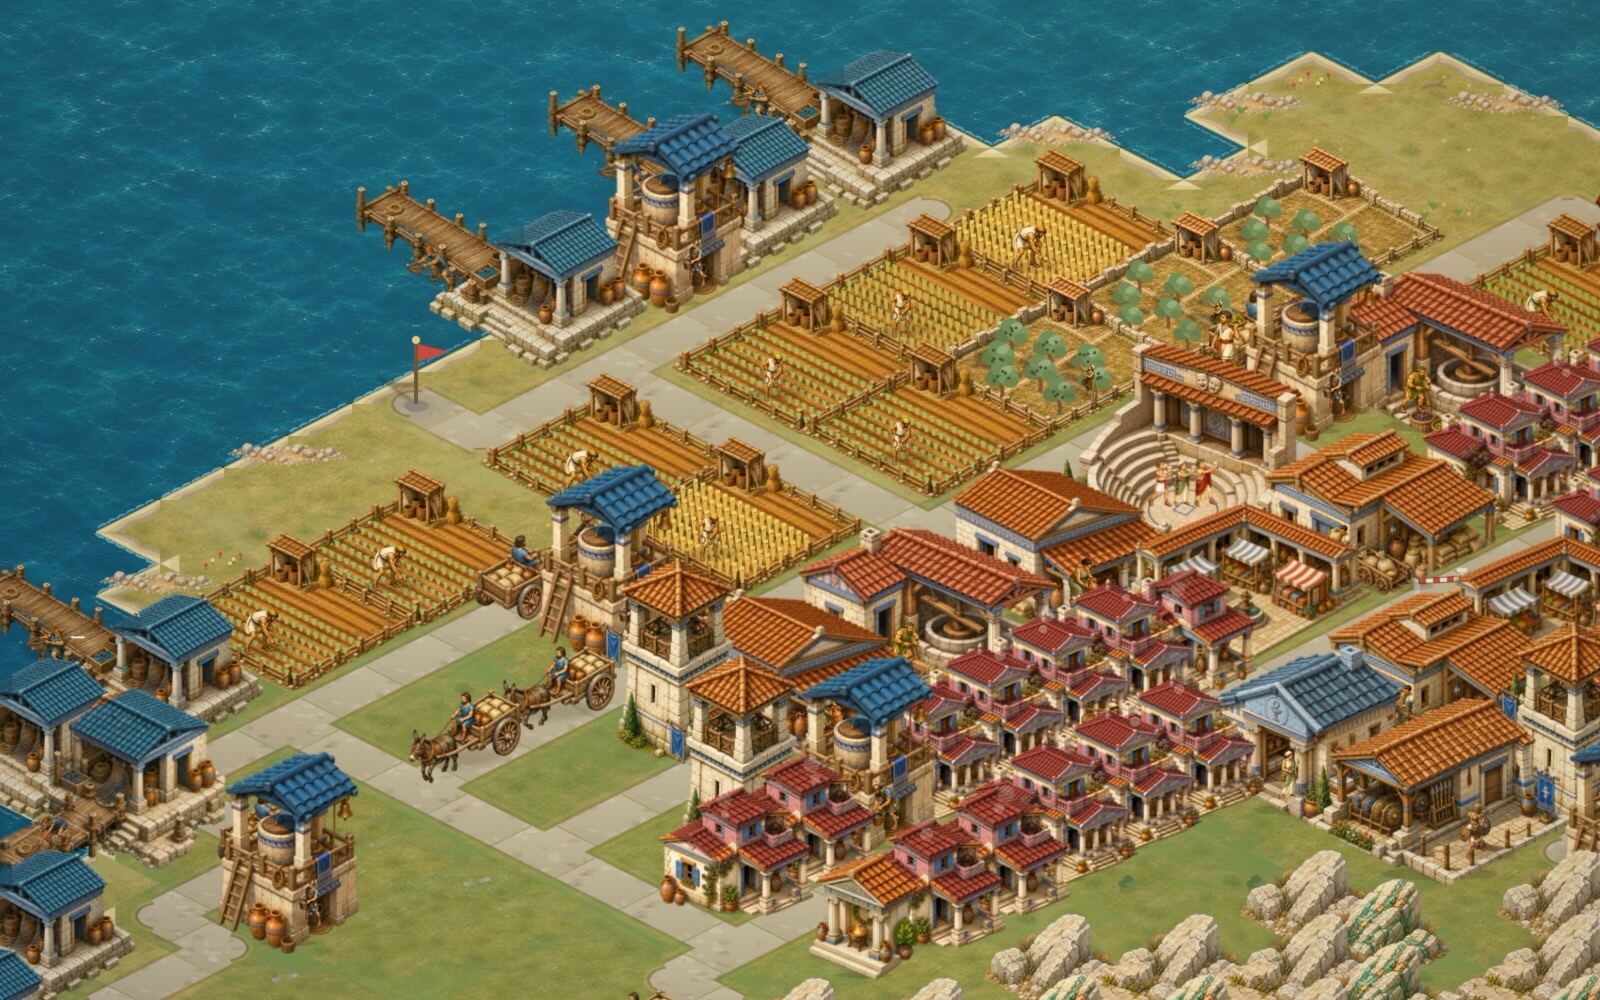
The year has four Mediterranean seasons, and they are upside down from the northern ones you might expect.
- Summer is the dead season. Wheat grows at a quarter rate. The fields are parched and your granaries drain.
- Autumn brings the olive and grape harvest, and wheat recovers.
- Winter grows wheat well, second only to spring, but the sea closes: no caravans, no imports, no shipping, and fishing drops.
- Spring is the best growing season of all.
Averaged over a year this comes out roughly even. Within a year it does not. A city that is break-even in spring will lose people in summer, and the fix has to be applied months earlier: bank a granary surplus through autumn and winter that will carry you across the dry months.
Fishing wharves are the stabiliser. They fish through summer at full rate, which makes a coastal city considerably steadier than an inland one. If you can build wharves, build wharves.
Immigration will not save you from summer, either. Settlers come for open beds, and the one thing that turns them away is hunger: once a city has grown past about sixty people and more than one settled citizen in seven has gone hungry for over a week, no ship sails in until you fix it. A summer famine therefore costs you twice, in the people who leave and in the ones who stop coming.
Mistake three: ignoring the neighbours
Six rival cities sit on the Aegean map, opened with the chart button or the M key. They ignore hamlets. Once you pass about 80 citizens the nearest ones start paying attention, and the further away a city is, the larger you have to be before it notices you at all.
What they do, in order of escalation: demand tribute, sour, then muster for war and land raiders who march overland and burn whatever is worth burning. Raiders leave rubble that blocks the ground until you clear it.
Paying tribute works. It is not a trap, and a city that pays its demands can go years without being raided. Ignoring them is what gets you burned down. If you would rather not pay, watchtowers are your first line: their archers kill raiders inside a radius of about six and a half tiles, and they need a road connection and staff to work. A barracks can also muster a home guard company to fight in your own streets, city walls and gatehouses make raiders stop and pull a wall down before they reach the houses, and a god whose temple is finished and staffed will patrol and strike at raiders. An army you send overseas, though, is gone until it comes home.
You can also just be liked. Gifts raise a rival's attitude, and open trade routes make their caravans call at your trading post and pay more than the going rate for the goods they prize, and the further they sail, the bigger the premium. Trade routes are usually better business than raiding.
Put the build order to work. It runs in a browser tab, no download.
The first fifteen minutes are free, then €4.99 + VAT once, forever.
A build order to copy
If you would rather not think about it the first time through:
- Road inland from the landing flag.
- Four or five houses along it.
- Road-connected timber yard with an open walking route to forest.
- Two wheat farms on the best meadow, or a wharf if the coast is close.
- Granary beside them.
- Agora, central to the houses.
- Well among the houses.
- Tax Office among the houses (no silver, 4 wood, 2 workers): homes outside its reach pay nothing.
- Watchtowers before you cross 80 citizens, which usually comes within the first two months, or plan to pay the first tribute demands.
- Fire Watch within reach of the granary, timber yard and houses (70 dr, no wood, 4 workers), then an Infirmary among the houses (170 dr, 10 wood, 6 workers): roofs gather kindling, full homes breed sickness, and no alarm sounds until a roof is already burning.
- More food until the ledger is comfortably positive, and more houses (or higher wages in the City Ledger) whenever a building is short of workers; then a second agora, and a Tax Office for the new streets, as the population passes a few hundred.
- Storehouse, olive grove, olive press, shrine, and a cluster of flower gardens among the houses (statues need marble, which comes with the quarry). Villas start appearing.
- Quarry, then a Shepherd's Hut with seven or eight sheep, then a theatre, and statues and gardens until the street is splendid. Estates start appearing.
- Trading post, and open a route with the nearest rival.
This order assumes the default Aegean Shore. Wild Country has no meadow, so feed it from hunting lodges and fishing wharves instead of farms, and the Pasturelands have no marble; on those shores, trade for what the land will not give you.
After that the game is yours. The Labors list gives you objectives if you want them, and the Aegean gives you six neighbours to trade with, bribe or conquer if you do not.